Installation
Hint: If you are using Hetzner, you may be interested in Installing MyBee via Hetzner rescue system method.
- Download MYB APPLIANCE image and burn it to DVD, or make a bootable USB drive
- Insert installation media into a computer that you want to install MYB on.
Warning: all data on the hard drive you selected will be erased upon MYB installation! - MYB uses bsdinstall as installer (you can refer to the corresponding documentation) with two changes:
- Missing item with UFS file system on partitioning stage
- Additional components: cbsd
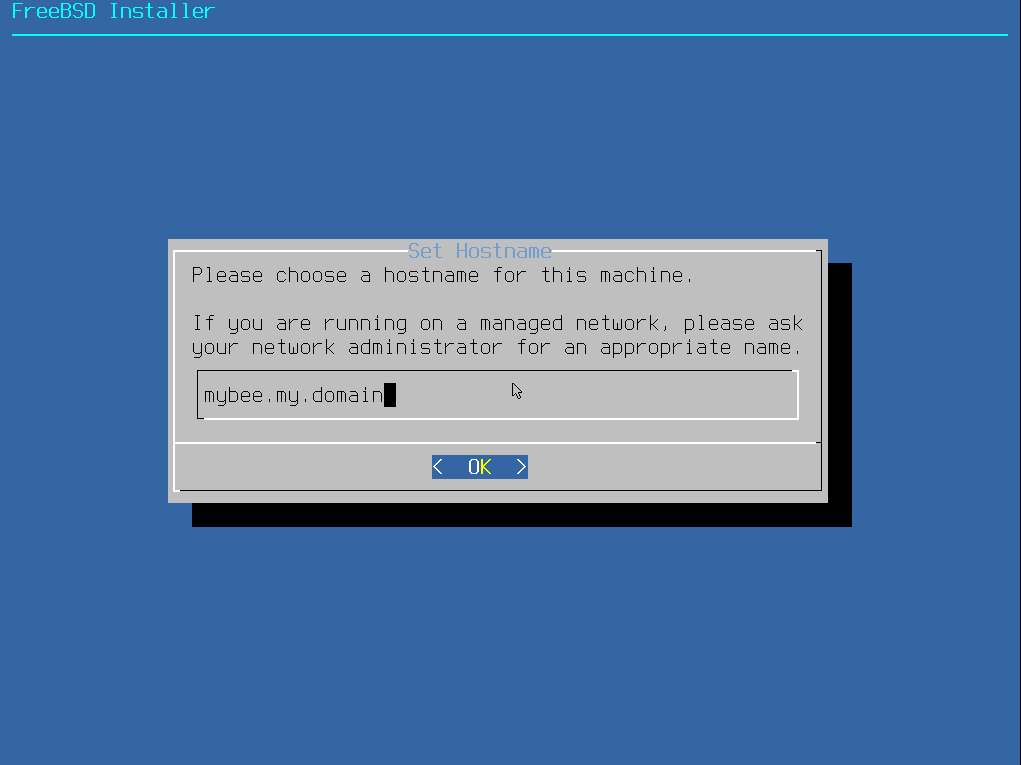
- Also, make sure that you use the FQDN as a name (please add domain suffix):
- After the first reboot, the system will take some time (usually about a minute) for additional automatic operations,
after which it will ask you to reboot the system again. You can see these messages if you go to the server (via ssh or console):
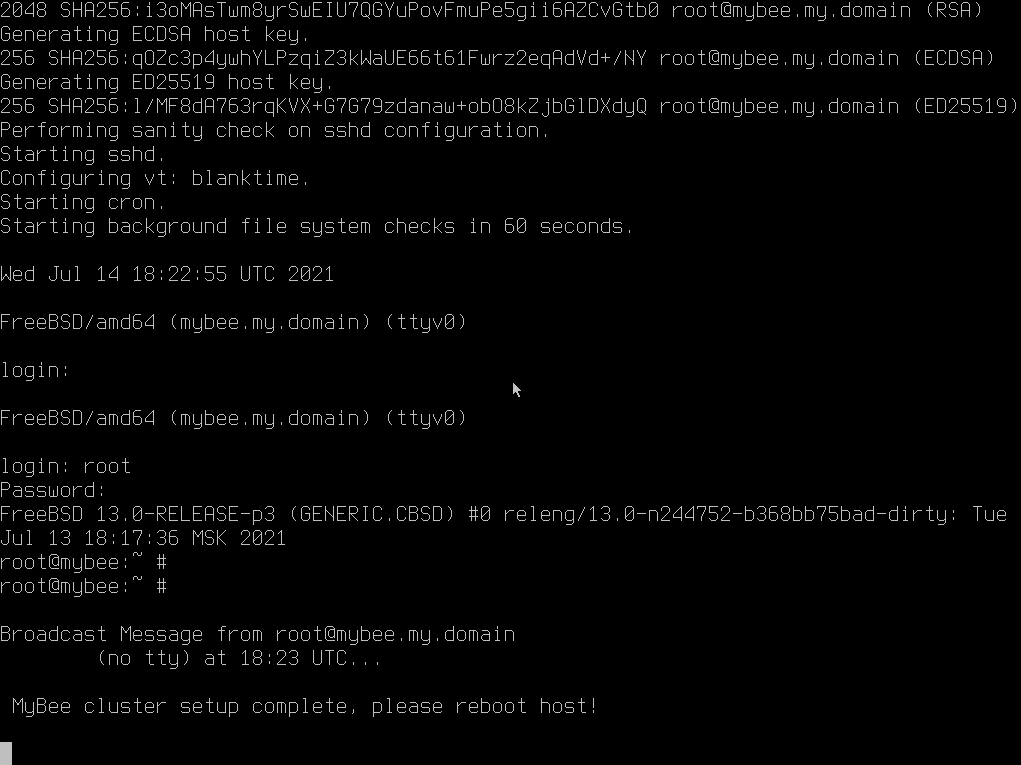
- Just reboot the host and you can start: open the http://IP index page in your browser for help.
Below is a general method of installation MyBee on a dedicated server:
Attention! The MyBee requires the Internet to obtain images of virtual machines. Use the Internet access network.
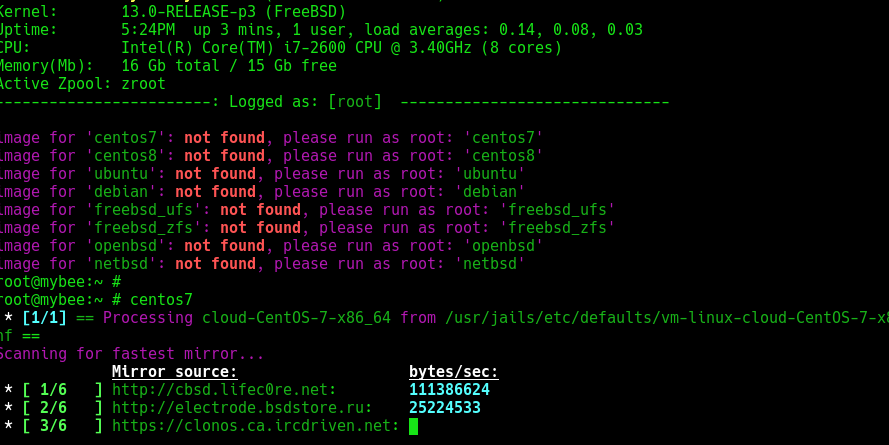
Before first use, you may want to initialize (warm) images. To do this, use the 'root' access and run the command, depending on the images you use: 'centos7', 'centos8', 'ubuntu', 'debian', 'freebsd_ufs', 'freebsd_zfs', 'openbsd', 'netbsd'.
Basic usage:
    # get clusters status:
    [you@home ~$] curl http://IP/clusters

    # create data payload (default img list: "centos7", "centos8", "ubuntu", "debian", "freebsd_ufs", "freebsd_zfs", "openbsd", "netbsd"):
    [you@home ~$] cat centos7.json
    {
      "type": "bhyve",
      "imgsize": "10g",
      "ram": "1g",
      "cpus": "2",
      "img": "centos7",
      "pubkey": "ssh-ed25519 AAAA..XXX your@localhost"
    }

    # create cluster by data:
    [you@home ~$] curl -X POST -H "Content-Type: application/json" -d @centos7.json http://IP/api/v1/create/vm1

    # get your namespace status:
    [you@home ~$] curl -H "cid:<cid>" http://IP/api/v1/cluster

    # get cluster status
    [you@home ~$] curl -H "cid:<cid>" http://IP/api/v1/status/vm1

    # start vm
    [you@home ~$] curl -H "cid:<cid>" http://IP/api/v1/start/vm1

    # stop vm
    [you@home ~$] curl -H "cid:<cid>" http://IP/api/v1/stop/vm1

    # destroy vm
    [you@home ~$] curl -H "cid:<cid>" http://IP/api/v1/destroy/vm1
or via nubectl:
    # Setup nubectl:
    [you@home ~$] export CLOUDKEY="/home/cloud/.ssh/authorized_keys"
    [you@home ~$] export CLOUDURL="http://144.76.225.238"

    # Create/launch some VMs:
    [you@home ~$] nubectl create vm vm1
    [you@home ~$] nubectl create vm vm2
    [you@home ~$] ..

    # Get cluster status
    [you@home ~$] nubectl status

    # Get vm1 status:
    [you@home ~$] nubectl status vm1

    # Login into vm1
    [you@home ~$] nubectl ssh vm1

    # Destroy vm2
    [you@home ~$] nubectl destroy vm2
Please Refer page for a working example.