Installing a MyBee on Hetzner
- AMD/Intel x86-64 CPU with VT-x enabled
- 4GB+ RAM
- At least 20GB HDD
-
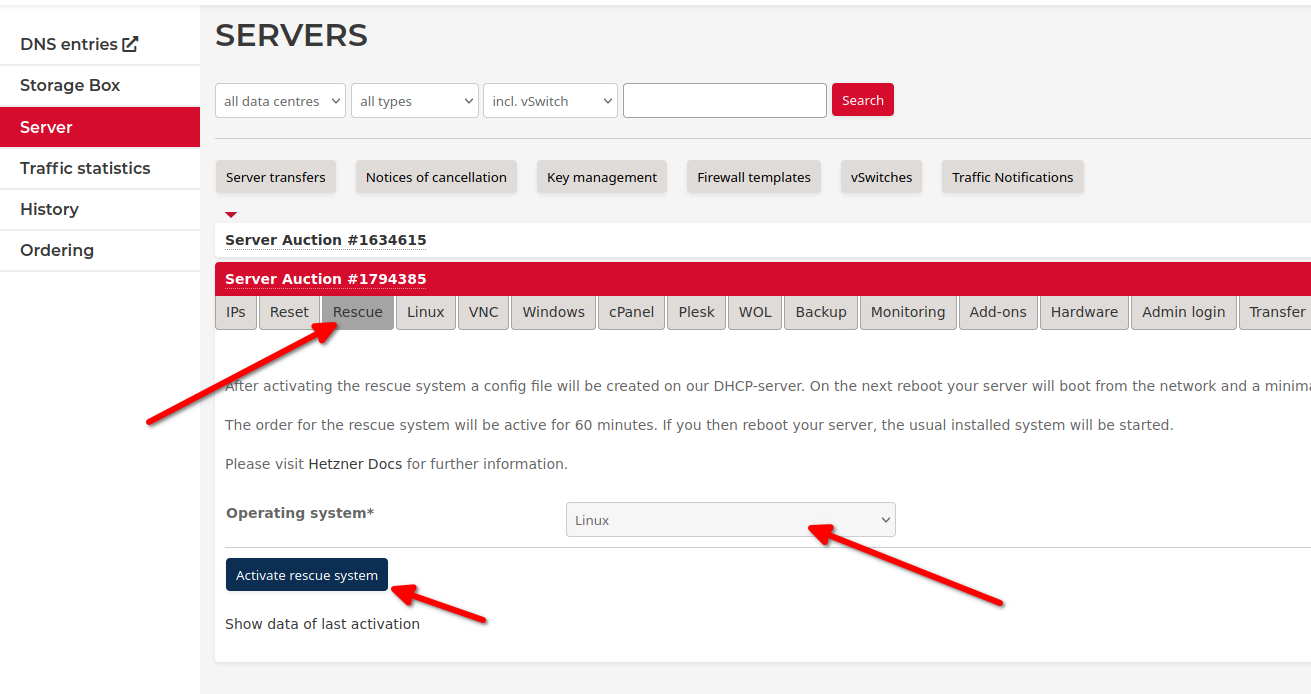
First, you must reboot your Hetzner server into rescue. Make sure you choose the correct architecture and OS:
-
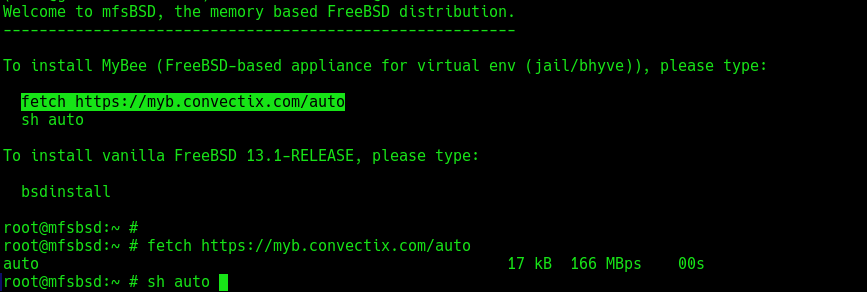
After rebooting the server and accessing the shell as root, use the ‘fetch’ command to get the installation script:
fetch https://myb.convectix.com/auto
The script is written in shell, so you can run it through the shell:
sh auto
-
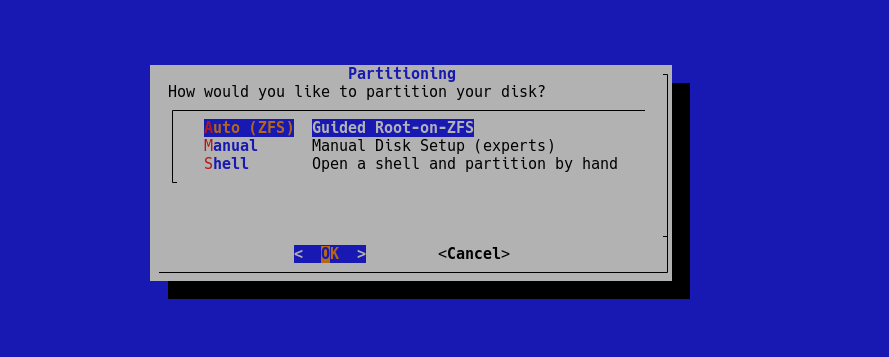
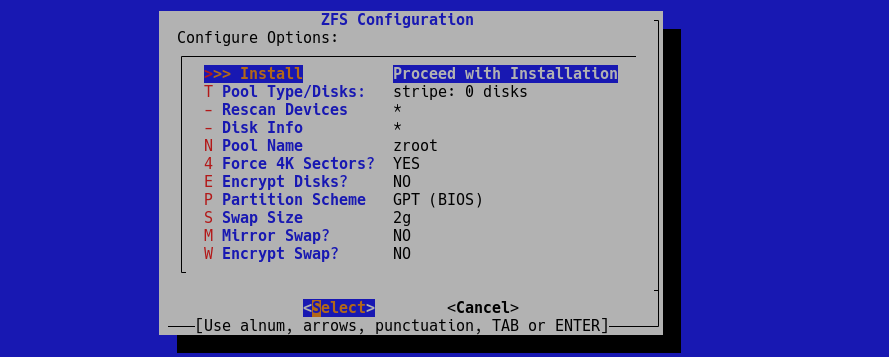
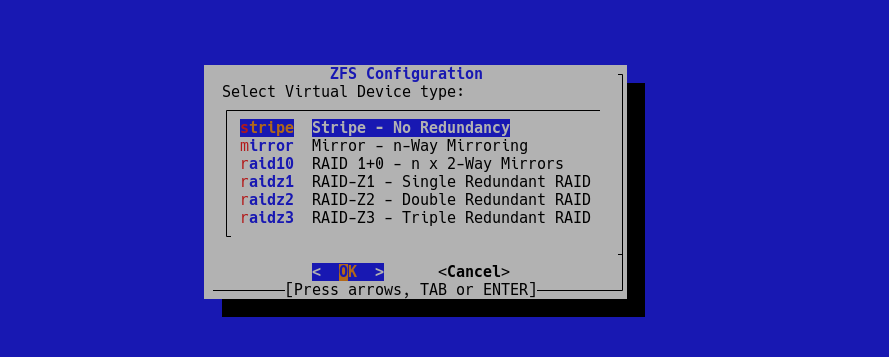
If you are familiar with the vd installer, you will be familiar with the next steps. Just select options until you get to the user creation setup:
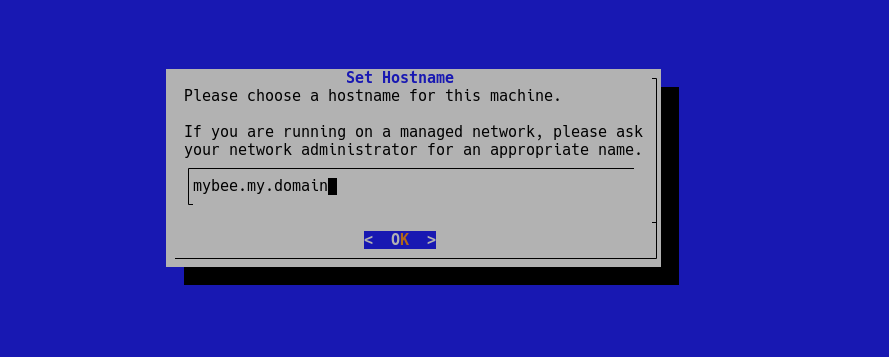
-
:
-
:
-
Of course, you can choose the options that are more suitable for you:
-
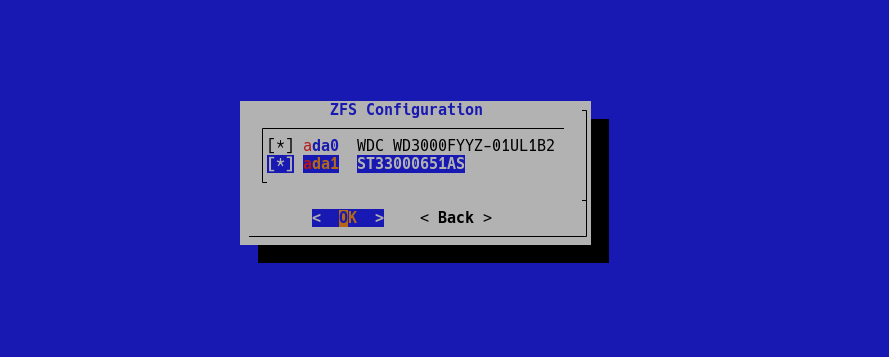
Here is a setup for a server that has only two disks:
-
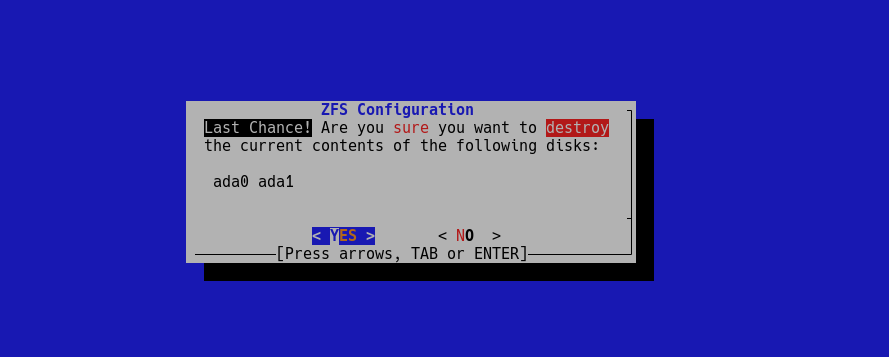
This is a last change!
-
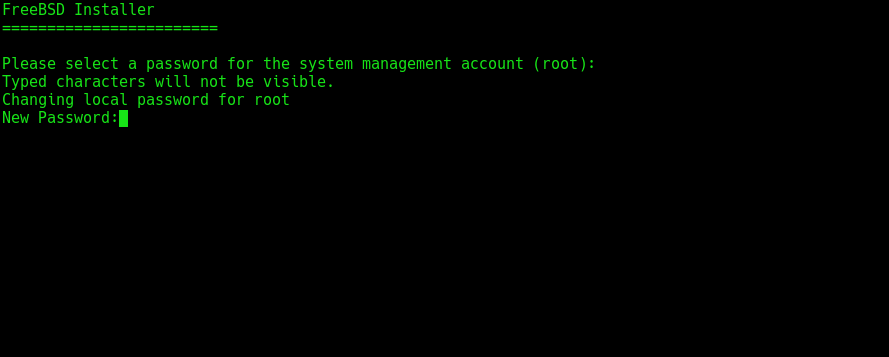
Choose a strong password for your ‘root’ account. By default, it is not available through the ssh:
-
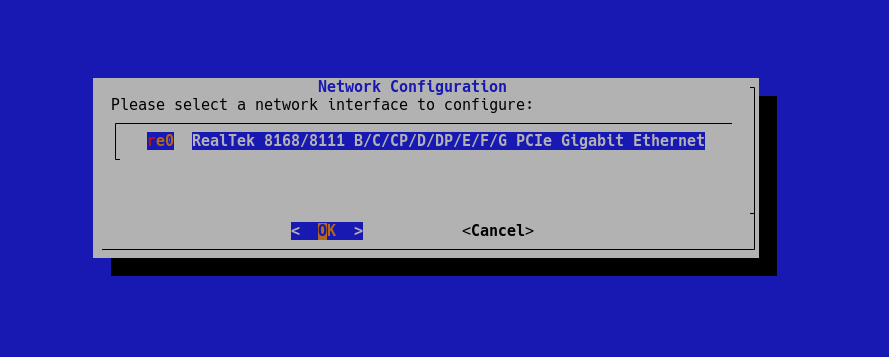
We only have one physical interface on the host:
-
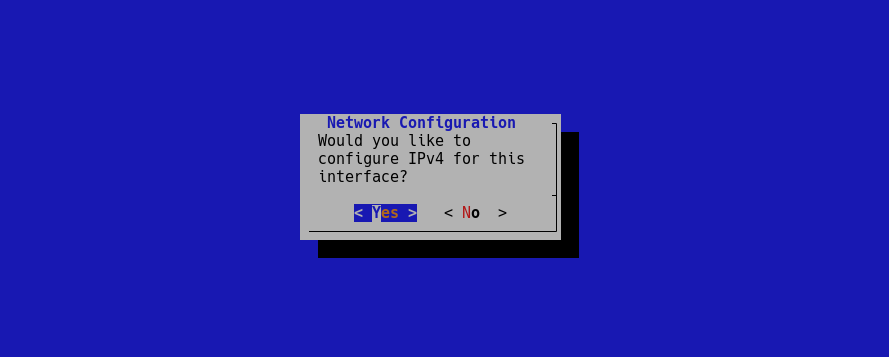
:
-
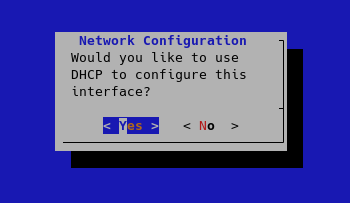
Of course, you may prefer to configure your network connection statically. Answer ‘no’ in this case:
-
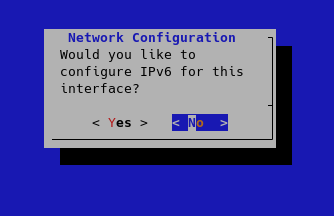
:
-
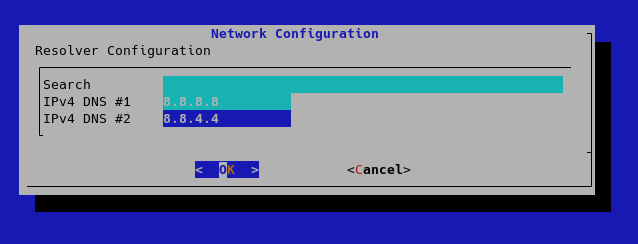
You need a correctly configured DNS. You can use public servers from Google ( 8.8.8.8, 8.8.4.4 ) if there are no better options:
-
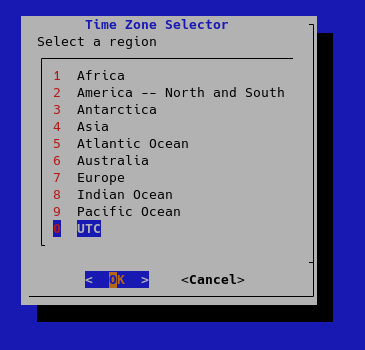
Choose a time zone that is comfortable for you:

-
:
-
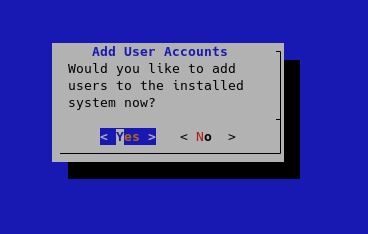
By default, root user access is blocked by ssx, so we need an additional user:
-
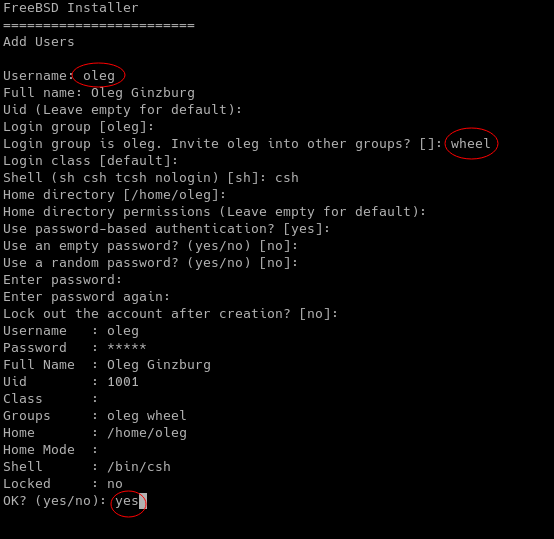
Don’t forget to specify an additional group for your user as a ‘wheel’, otherwise you won’t be able to switch to root user (su, sudo):
-
We got everything we wanted, now we can leave the bsdinstall:
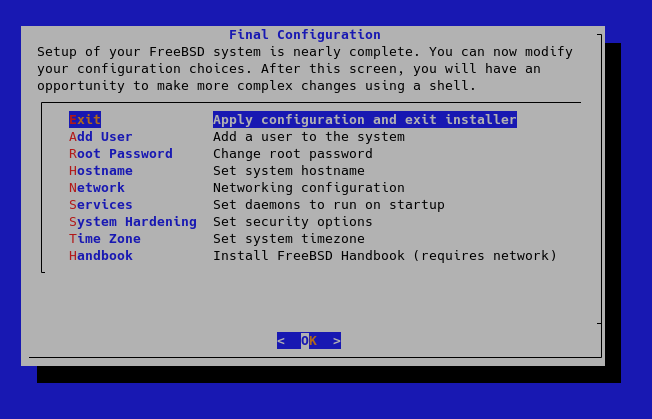
-
Choose ‘no’ to return to Hetzner rescue shell:
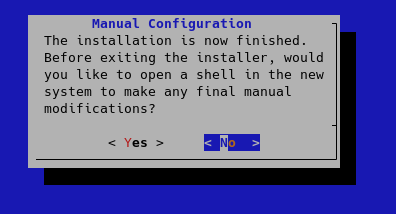
-
Now you can reboot your system to MyBee, type in 'shell':
shutdown -r now
-
When the host is back, go to it via ssh and wait for the broadcast message that the configuration is complete. Reboot the server again. When the server returns, you can start using it. Start with http://<SERVER_IP>
System requirements:
Installation:
Warning! These instructions cause information to be lost from the computer on which they are executed and install the new operating system on your disks.
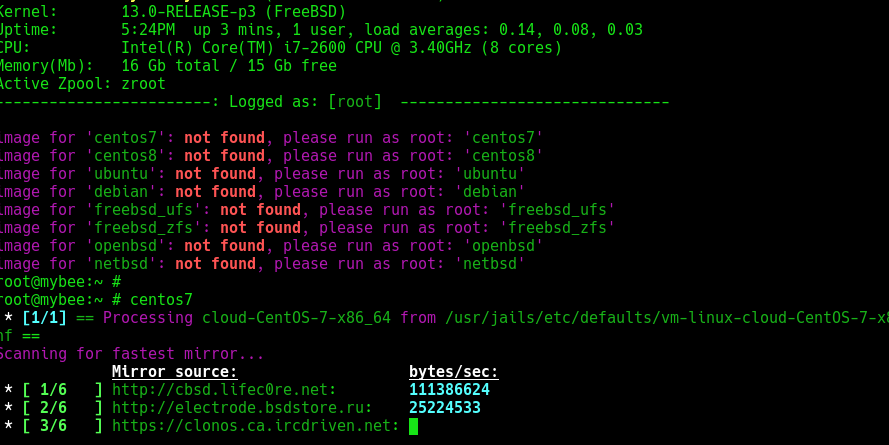
Before first use, you may want to initialize (warm) images. To do this, use the 'root' access and run the command, depending on the images you use: 'centos7', 'centos8', 'ubuntu', 'debian', 'freebsd_ufs', 'freebsd_zfs', 'openbsd', 'netbsd'.
Please Refer page for a working example.